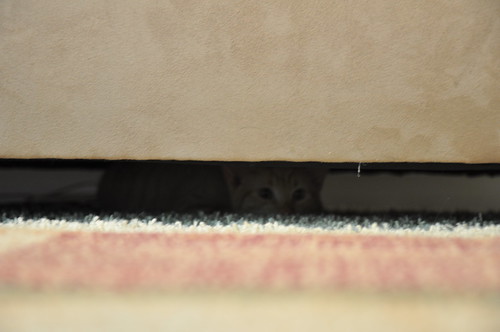
I have a new roommate, and yes; he is stalking you.
I present exhibits A. – E.:


I have a new roommate, and yes; he is stalking you.
I present exhibits A. – E.:
I’ve always been frustrated by the speeds & limitations of wireless and with the addition of a home server, 802.11G just doesn’t cut it. Sure it’s great for flexibility but there’s certain limitations when you want to stream content. Now that I own my own home, I can do something that I’ve wanted to do for a long time – setup a wired home network.
The existing cable wiring was a mess, running from outside to the garage (on the opposite side of the house) then out to each room. I wanted a more convenient location for my wires, so I pulled all the wires from the garage into a closet close to the outside wall where the wires come in.
I tried to run lines where there was already cable/phone outlets so I wouldn’t have to cut too many new holes in the wall. Ran about 3-4 CAT6 drops per room.

I bought a 16 port CAT6 patch panel, although I’m already wishing I had picked up a 24 panel just to be on the safe side. In addition, a 4U wall mount bracket and a rack mountable surge strip.
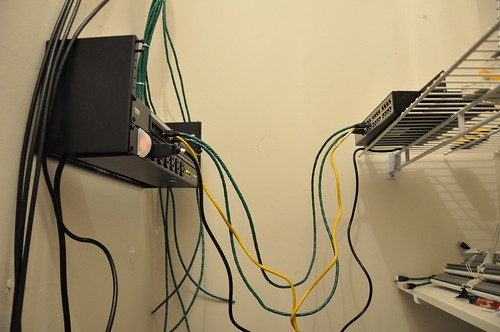
Most of the materials weren’t too expensive, aside from the 1000′ of solid CAT6 cable and 1Gbps network switch.
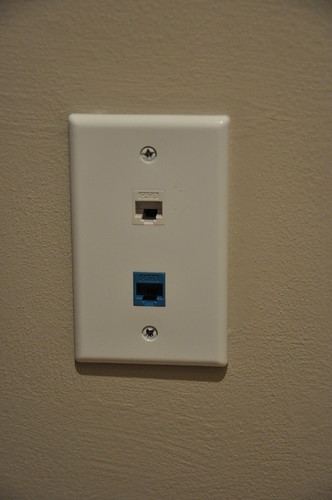
I did have to replace most of the wall plates, so picked up a bunch of 2/3 keystone plates with various CAT6/Coaxial connectors. I did use blue to signify what is supposed to be a phone line, but I don’t currently have any of those actually hooked up at the moment.
I do plan on fixing up the phone/coaxial parts at some point, but I’m honestly in no rush considering I don’t have cable/antenna/phone hooked up.
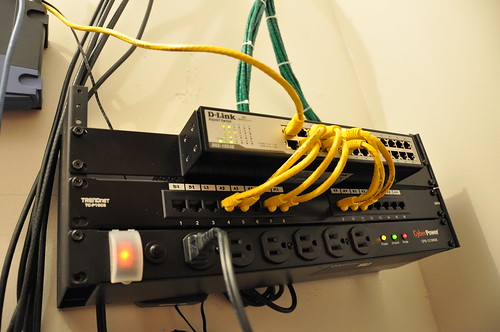
I didn’t have any kind of fancy label maker, so I simply used white electrical tape and a permanent marker to label the wires on both end should I ever find the need to figure out what’s what.
It was a decent amount of work, but all in all I’m pretty happy with it. My 1Gbps network happily chugs along at 30-40MB/sec, although I’m sure it’s a bit slower than I expected due to my HDD read speeds.
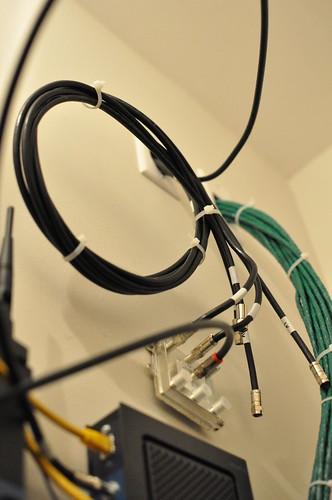
After months of procrastination, I finally terminated the dangling RG6 cables and hooked them up to a home-grown antenna. I used up a DataShark compression kit from HomeDepot to terminate the cables. However if you use the same kit, I really would recommend picking up a coax stripper as the one included was pretty crappy.
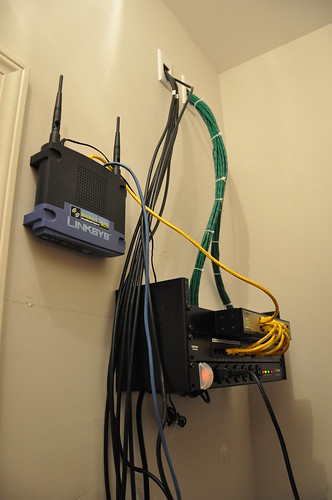
In addition, picked up a new Motorola SB6120 modem which was capable of wall mounting:
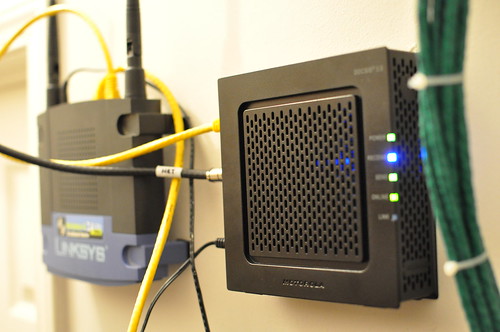
Sure the wires aren’t exactly neat but the setup does what it’s supposed to do. Simplified management of my home network and easy access should I ever find the need to change anything.
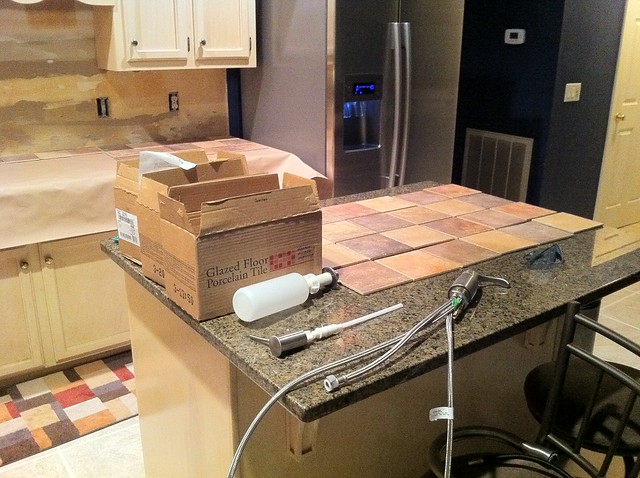
After months of waiting on the tile to arrive, it finally got here! I’ve been having to deal with having a stripped down wall since after the counter-tops were done, so I’m glad to finally at least have my wall looking somewhat decent. Overall it didn’t take me but about 7-8 hours to do over the weekend, so I feel pretty accomplished. The tile saw I bought back when I originally did the kitchen floors has most certainly paid off as I didn’t have any issues cutting tiles other than my occasional wonky measurement.

Initially, I had to do a lot of work to get the wall cleaned up. There was still remnants of the linoleum and glue which were proving to be a pain in the ass.
Once the wall was a little more cleaned up, I could start laying out a pattern to work with.

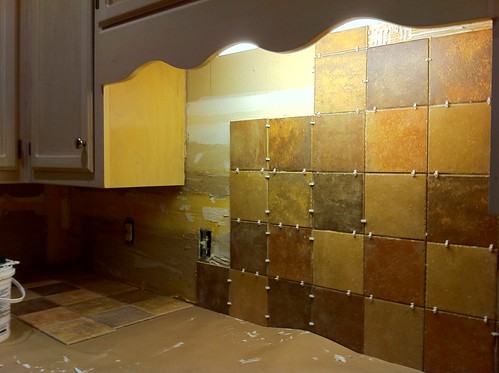
The tiles were a lot smaller than from when I was doing the kitchen floor, but it went pretty fast as any complicated cuts were small and pretty much any other cut was a straight edge.

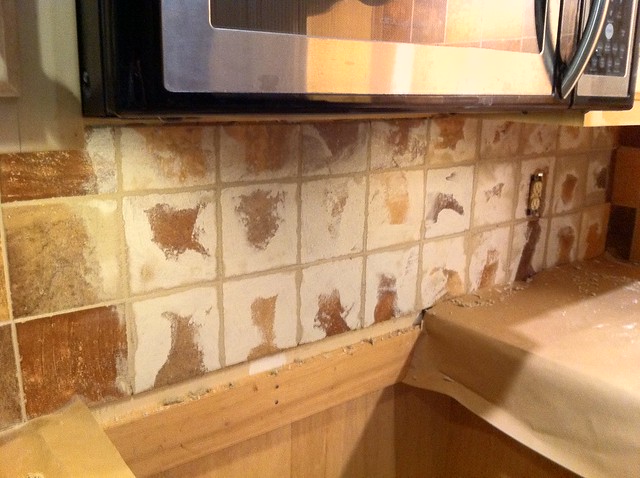
Grouting was definitely the most difficult part of this. I only had a limited space to work with (17″ from counter-tops to cabinets) and the 1/8″ gap was a lot smaller than the 3/8″ gap used on the floor.
With a weekend of work it turned out pretty great, and I’m just about done with the kitchen. There’s a few more things I need to do such as touch up the paint, but the bulk of the longer laborious work is out of the way and I can now enjoy the fruits of them.
Every guy wants a man room, I’ve in fact dreamed of one for the past several years. Now since I own my own house that dream can become a reality.
The front bedroom will fulfill that purpose. Young children once filled this room, but those times of adolescence will be no more as the room will be directly injected with testosterone. The room ashamed me so much during its early stages that I could not bear to take a picture of its pitifulness. However, I was able to scourer a picture from the depths of the internet that will give you a slight glimpse into the past.


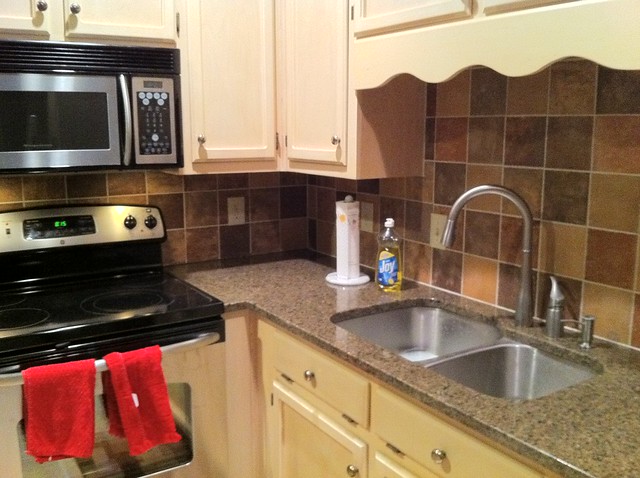
The kitchen is finally done! It took about one week to do, but I’m really happy with how things have turned out. I still have a little bit of work to do (such as moving in the rest of the appliances) but the hard work is out of the way.
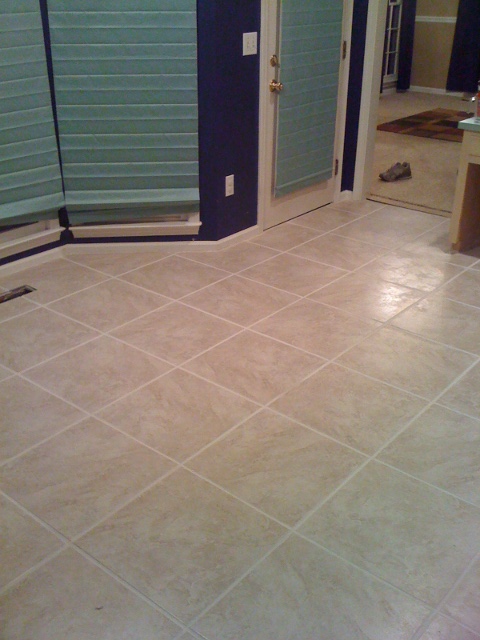
It feels good to be able to cross the biggest task off my to-do list, and having finished it I took it easy by watching a movie last night. It was very refreshing after a week of hard work just to sit down and relax for once.
Things are finally progressing with the kitchen and I was able to get a lot accomplished over the weekend. I had a few snags with some of the more complicated tile cuts and ended up having to buy a wet saw — but it was so worth it! I could’ve been finished so much sooner had I caved in and gotten one earlier on.
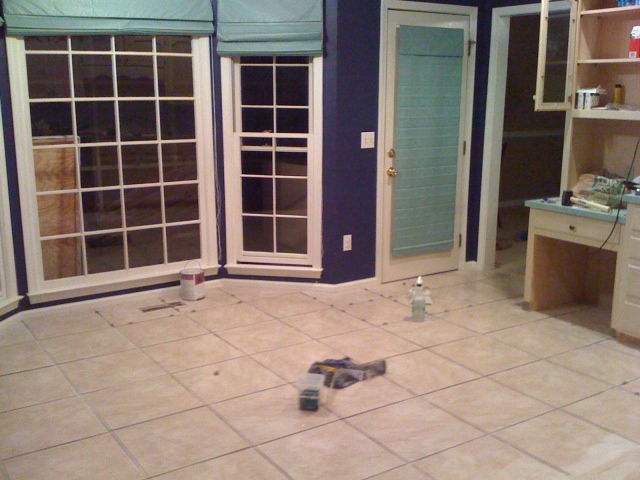
After having all the tile down on the floor and set, I’m glad I went with what I did. It provides a nice contrast to the walls and still looks good with the natural colors of the cabinets.

In addition to having everything cut and set, I was happy to begin with the grout as seen with the above picture. It’s been difficult to wait for the tile/grout to set, as I’m waiting to place my appliances so I can “officially” start living here without having to eat out so frequently. It’s great to know that I’m essentially in the home stretch, just have to wait it out just a little bit longer…
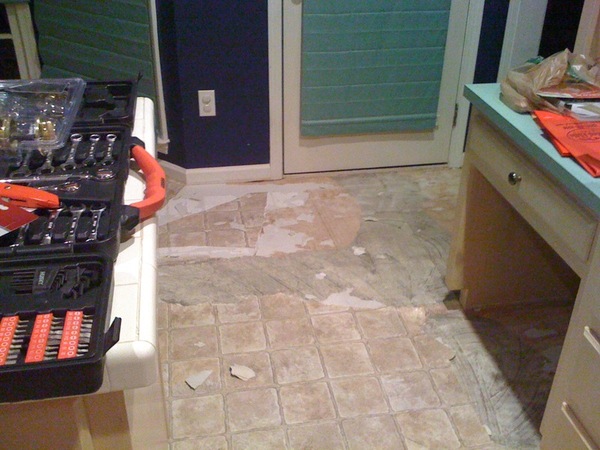
Turns out that tiling is taking much longer than expected, but it’ll be worth it in the end; I’m sure of it. I decided to forgo the tearing up the linoleum and just even out what was left.
Was finally able to start to lay down the backer board in the early afternoon:
 Laundry Room")
This was/will be the kitchen:
 Kitchen")
After a long day’s work I have about 2/3 of the kitchen backer boarded and glued, so hopefully tomorrow I can finish and maybe begin to lay some tile. It’s a grueling process but I know that the tile will look good in the end.
I am now officially a home owner! After several long weeks of waiting for everything to come together the day has finally arrived. Taking advantage of the housing credit, low interest rates, and buyers’ market I settled on a nice 3/2 home. Sadly, even after closing today I feel like I spent more time at Home Depot & Lowes than I did in the house.
I’ll try and put up some other pictures later, but in the meantime I’ve started work on the kitchen:
Needless to say, I’m having second thoughts of tearing up the linoleum. I was planning to pull up the linoleum to place down tile, but I’m having second thoughts given the strong attraction the linoleum has to the floor. I’m considering just leveling out the portions that have been removed and then placing the tile directly over that. A good nights sleep should help me decide one way or the other.