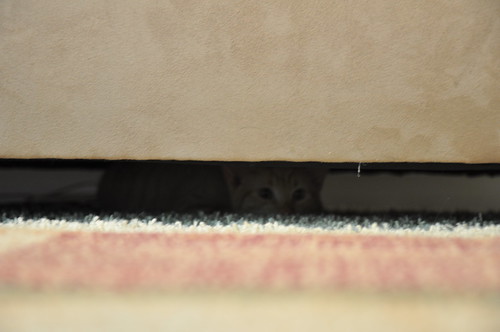
I have a new roommate, and yes; he is stalking you.
I present exhibits A. – E.:


I have a new roommate, and yes; he is stalking you.
I present exhibits A. – E.:
I’ve always been frustrated by the speeds & limitations of wireless and with the addition of a home server, 802.11G just doesn’t cut it. Sure it’s great for flexibility but there’s certain limitations when you want to stream content. Now that I own my own home, I can do something that I’ve wanted to do for a long time – setup a wired home network.
The existing cable wiring was a mess, running from outside to the garage (on the opposite side of the house) then out to each room. I wanted a more convenient location for my wires, so I pulled all the wires from the garage into a closet close to the outside wall where the wires come in.
I tried to run lines where there was already cable/phone outlets so I wouldn’t have to cut too many new holes in the wall. Ran about 3-4 CAT6 drops per room.

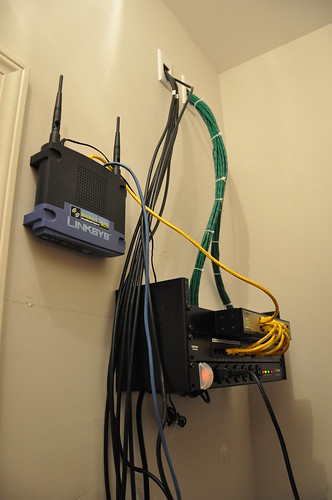
I bought a 16 port CAT6 patch panel, although I’m already wishing I had picked up a 24 panel just to be on the safe side. In addition, a 4U wall mount bracket and a rack mountable surge strip.
Most of the materials weren’t too expensive, aside from the 1000′ of solid CAT6 cable and 1Gbps network switch.
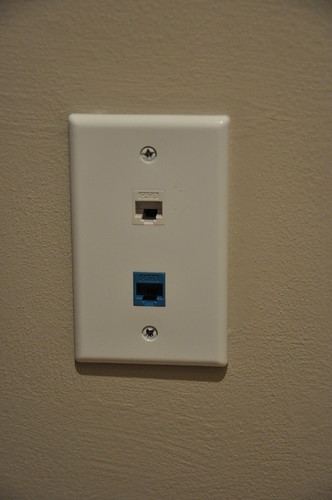
I did have to replace most of the wall plates, so picked up a bunch of 2/3 keystone plates with various CAT6/Coaxial connectors. I did use blue to signify what is supposed to be a phone line, but I don’t currently have any of those actually hooked up at the moment.
I do plan on fixing up the phone/coaxial parts at some point, but I’m honestly in no rush considering I don’t have cable/antenna/phone hooked up.
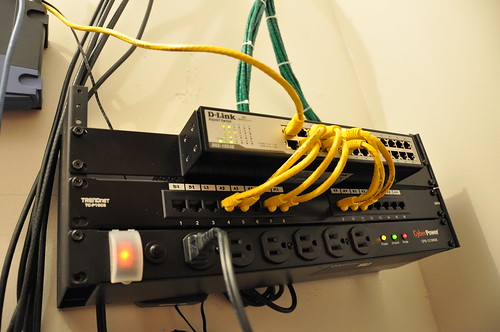
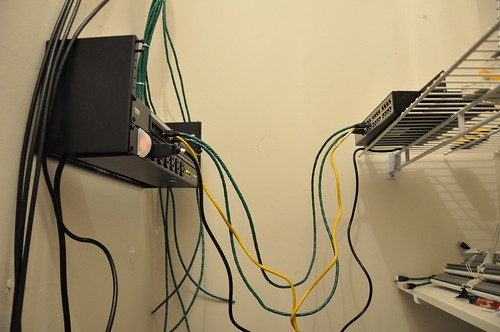
I didn’t have any kind of fancy label maker, so I simply used white electrical tape and a permanent marker to label the wires on both end should I ever find the need to figure out what’s what.
It was a decent amount of work, but all in all I’m pretty happy with it. My 1Gbps network happily chugs along at 30-40MB/sec, although I’m sure it’s a bit slower than I expected due to my HDD read speeds.
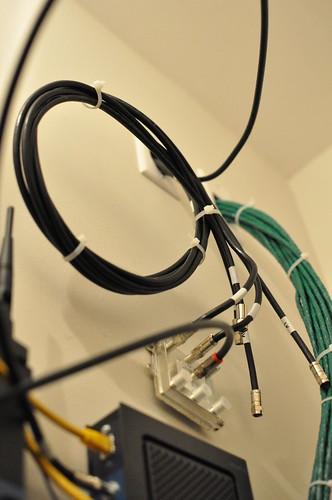
After months of procrastination, I finally terminated the dangling RG6 cables and hooked them up to a home-grown antenna. I used up a DataShark compression kit from HomeDepot to terminate the cables. However if you use the same kit, I really would recommend picking up a coax stripper as the one included was pretty crappy.
In addition, picked up a new Motorola SB6120 modem which was capable of wall mounting:
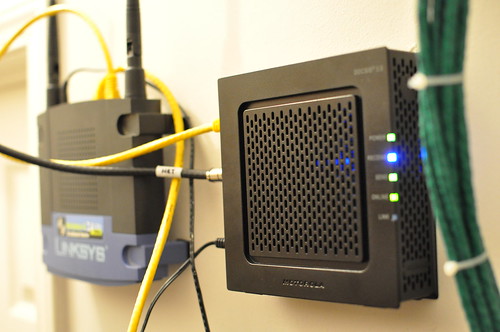
Sure the wires aren’t exactly neat but the setup does what it’s supposed to do. Simplified management of my home network and easy access should I ever find the need to change anything.
I had the privilege of meeting some good friends of mine a couple weeks back in Omaha/Lincoln, Nebraska. A little bit colder than here in Birmingham, although the weather was seemingly nice for the time of year – aside from vast amounts of mud and snow. I still had a great time and look forward to visiting again in the future.
I was mostly too busy socializing and trying to place names with everyone, but I did manage to pick up a few photos on the trip during our visit to the Strategic Air Command Museum.


You can view the rest of the photos on flickr.
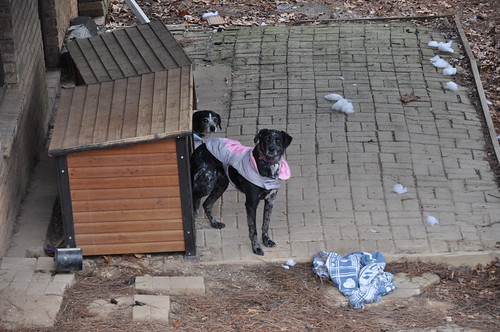
This has been one of the more unusual years for Birmingham as we’ve had several significant cold weather events since December; at least more than I can remember in recent history.
Back in January the weather dipped down into the low teens, which apparently means “tiny coats on dogs”.
Shortly thereafter, there was a significant accumulation of sleet. At least around my house it averaged from 1 1/2″ to 2″ but in some places it piled up into larger masses.
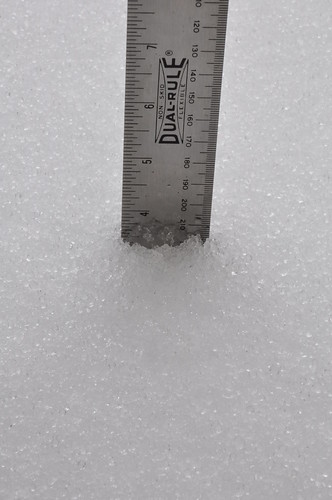
Yet the snow has managed to miss us and instead leaving with this icy mess to deal with. Fantastic.
I’ve never carved a pumpkin before, so I wanted to give it a shot this year.

And the result!

A little messy, but I’m pretty pleased with my first attempt. I wanted to go with something simple, and figured that this would fit the bill.
It’s that time again, time for my 3 year upgrade! My computer performance has been a little more sluggish than I would like, so I’ve been watching NewEgg for some deals for a little while and finally bit the bullet.
Shown below is the motherboard that I picked up.

I had a socket AM2 board, but unfortunately my old board did not have a bios update that was compatible with a newer AM3 chip. Unfortunately in addition to the board that meant I had to upgrade from DDR2 to DDR3.
One thing that I really liked are these extension modules that go between the board and various wires. I know you only have to connect wires only once or twice, but it’s nice to have some space to work.
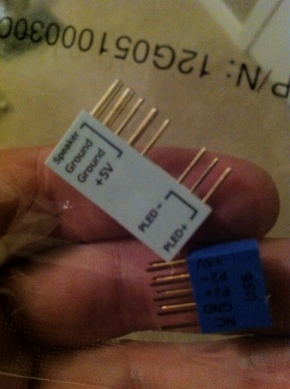
Thankfully, having this on the board will make my return trip slightly easier. My room eerily glows blue as if orcs draw near at night, so I definitely plan on removing whatever wire makes that happen.
I’ve only had a day or two to play around with it, but I do plan on attempting to unlock the other two cores at some point and test for stability. I’ll be pretty pleased with my purchase if I can manage to get at least 3 cores running stable with a slight overclock.
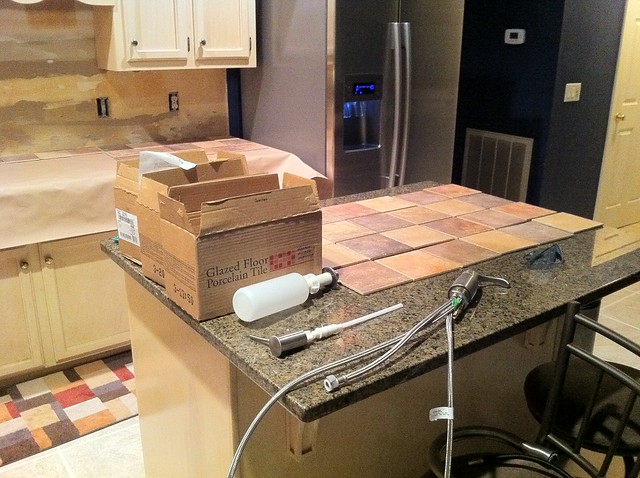
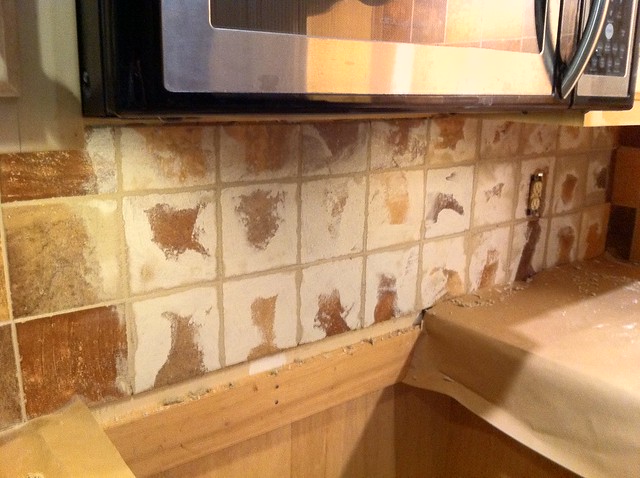
After months of waiting on the tile to arrive, it finally got here! I’ve been having to deal with having a stripped down wall since after the counter-tops were done, so I’m glad to finally at least have my wall looking somewhat decent. Overall it didn’t take me but about 7-8 hours to do over the weekend, so I feel pretty accomplished. The tile saw I bought back when I originally did the kitchen floors has most certainly paid off as I didn’t have any issues cutting tiles other than my occasional wonky measurement.

Initially, I had to do a lot of work to get the wall cleaned up. There was still remnants of the linoleum and glue which were proving to be a pain in the ass.
Once the wall was a little more cleaned up, I could start laying out a pattern to work with.

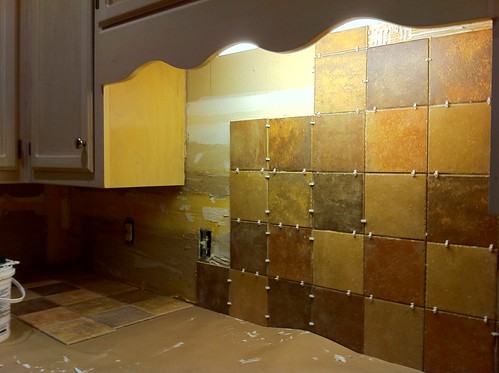
The tiles were a lot smaller than from when I was doing the kitchen floor, but it went pretty fast as any complicated cuts were small and pretty much any other cut was a straight edge.

Grouting was definitely the most difficult part of this. I only had a limited space to work with (17″ from counter-tops to cabinets) and the 1/8″ gap was a lot smaller than the 3/8″ gap used on the floor.
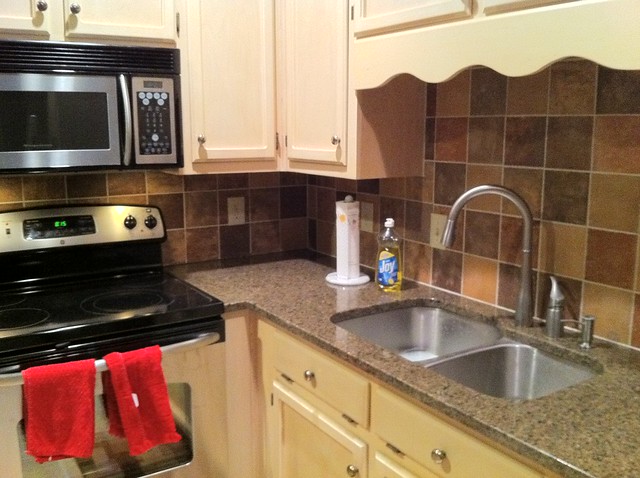
With a weekend of work it turned out pretty great, and I’m just about done with the kitchen. There’s a few more things I need to do such as touch up the paint, but the bulk of the longer laborious work is out of the way and I can now enjoy the fruits of them.
After months of driving around with a broken clock on my 2001 CR-V, I decided enough is enough. Time to fix that stupid clock. If someone else is having a similar issue, hopefully this will help.
To access the clock, you’ll first need to remove the center air vent. Under the air vent there are four clips that go into the dashboard. Pry your flathead screwdriver under the center air vent to remove the clips and pull the unit out. The clip locations are shown below (I’m showing the underside of the vents):

You’ll want to be careful when you’re pulling the vent out and be sure that all the clips are loosened. I accidentally broke a clip that wasn’t loose when pulling mine out.
Once the center vent is pulled out, you should see two connectors. One goes to the hazard lights, the other to the clock. You can unplug the clock and remove the two screws holding the clock in with your phillips-head screwdriver.
Be careful when unclipping the front cover to the clock, as the buttons may fall out. Once the front cover is off you should see the clock LCD and the PCB.
When looking at my clock only the far left connection was cracked, but the soldering was pretty thin as well on the others shown. I went ahead and soldered all the connections below for good measure, as I didn’t want to remove the air vents again just to re-solder.

Once all your soldering is done, you can test the clock by just plugging it in and turning the ignition on. If it doesn’t work, be sure to check your soldering connections. Otherwise you can connect everything back up, and screw it all together.

Woohoo! I now have a working clock again!
Some of you have mentioned monetary compensation. I’m not in this for the money, and not really interested in any direct donations. However if you’re still interested in giving back, you can use my Amazon associates link to buy something off Amazon, of which I’ll get a small percentage.
iOS 4.1 was released today, and one of the newest features is the added capability to take HDR photos. For those of you who aren’t familar with HDR, it stands for “High Dynamic Range.” What this means is the camera takes several photos in succession at different exposures and merges them together to bring out more details from photographs.
With HDR being added as a part of 4.1, I wanted to take a few test photos to see how well they turn out. Hover over the images (or click on them) to see the HDR photo:
There’s not a large difference in the above photo, but you can see a little more of the trees and the grass comes out to be closer to its natural color.
This photo is by far the most impressive result. In the original exposure the sky is a complete white out, while the HDR photo brings out the color of the sky.
…yet not every photo is as impressive. I actually find the original exposure here to be the better photo. Thankfully, iOS 4.1 allows you to save both photos – just in case!
You can see how the light washes out some of the cabinets, with HDR restoring to a more natural view.
While I wouldn’t consider my iPhone as a permanent placement for a full featured camera, it’s great to have around since it takes pretty decent photos and I’m likely to always have it on me.
For any interested parties I am selling my iPhone 3G 16GB phone. Comes with all of the original packaging (except for the earbuds). It is jailbroken/unlocked and currently on 3.1.3, but I’d be happy to update it to the latest firmware upon request. If interested, let me know.

