Kitchen Backsplash

Wednesday, September 29th, 2010 @ 7:37pm

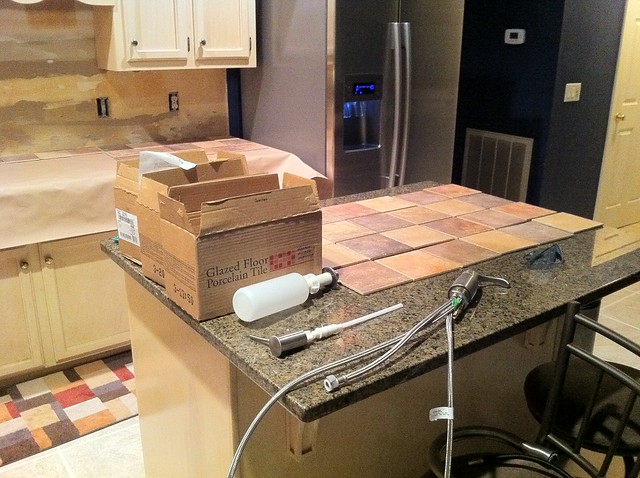
After months of waiting on the tile to arrive, it finally got here! I’ve been having to deal with having a stripped down wall since after the counter-tops were done, so I’m glad to finally at least have my wall looking somewhat decent. Overall it didn’t take me but about 7-8 hours to do over the weekend, so I feel pretty accomplished. The tile saw I bought back when I originally did the kitchen floors has most certainly paid off as I didn’t have any issues cutting tiles other than my occasional wonky measurement.

Wall Above Sink

Initially, I had to do a lot of work to get the wall cleaned up. There was still remnants of the linoleum and glue which were proving to be a pain in the ass.

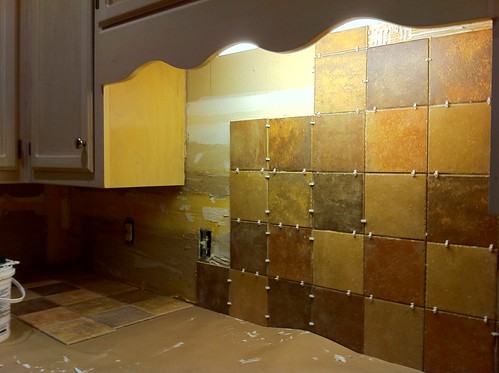
Once the wall was a little more cleaned up, I could start laying out a pattern to work with.

Laying out the Tile

Laying out the Tile

Mastic above Sink

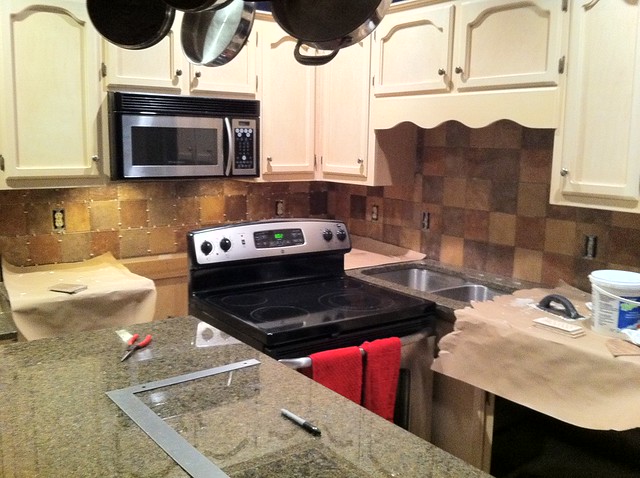
The tiles were a lot smaller than from when I was doing the kitchen floor, but it went pretty fast as any complicated cuts were small and pretty much any other cut was a straight edge.

Mastic above Stove

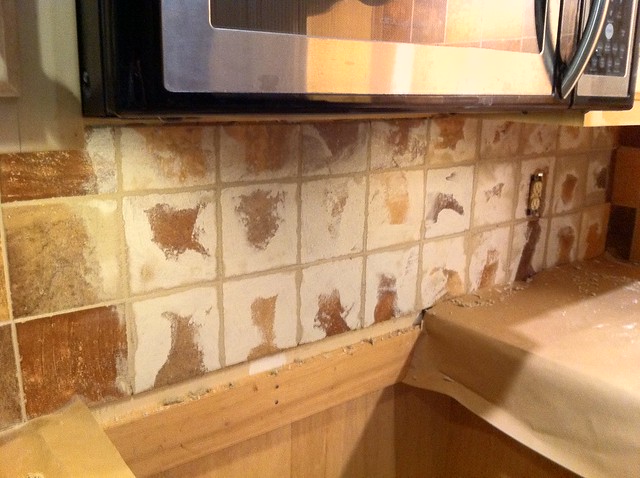
Grout

Grouting was definitely the most difficult part of this. I only had a limited space to work with (17″ from counter-tops to cabinets) and the 1/8″ gap was a lot smaller than the 3/8″ gap used on the floor.

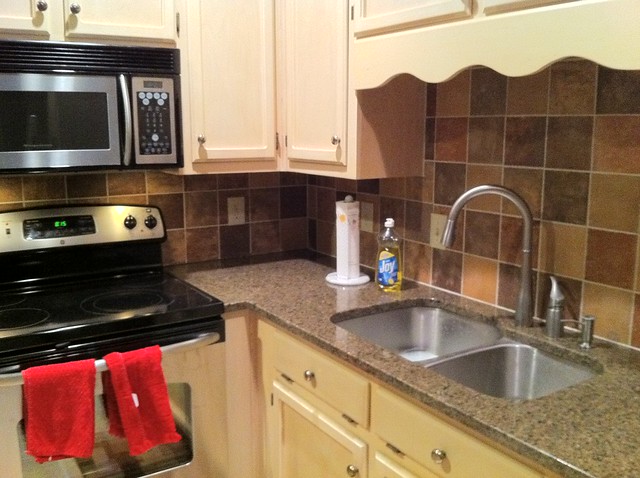
It's Done!

With a weekend of work it turned out pretty great, and I’m just about done with the kitchen. There’s a few more things I need to do such as touch up the paint, but the bulk of the longer laborious work is out of the way and I can now enjoy the fruits of them.

Installing Ubuntu 10.04 w/ RAID 1 and GPT

Thursday, September 16th, 2010 @ 9:05pm

After spending several days of pain and frustration over trying to get RAID 1 working with Lucid Lynx and GPT, I finally got it working. Maybe this will be of use to someone else.

I initially tried following steps from here, but was unable to get the system to boot correctly. Eventually I stumbled upon this article which allowed me to get the boot loader working correctly.

Apparently between MSDOS partition tables and GPT, MSDOS automatically reserves a portion of the hard drive for the boot loader while GPT doesn’t. I guess the advantage of having GPT do so is that you can place it anywhere on the disc, although I would imagine you would want it near the beginning anyway.

You can follow either the graphical installation shown here or use the alternate cd to install 10.04, but the most important thing is that you leave a very small partition (bios_grub in order for the boot loader to handle things correctly. You can do this directly from gparted or run it on the command line like so:

$ sudo parted /dev/sda set bios_grub on

I haven’t tried configuring RAID 1 on the bios_grub partitions for each HDD, but I’m happy to leave it be as it works. Once that’s done, you can install grub manually (where sda and sdb are your respective hard disks):

$ sudo update-grub
$ sudo grub-install /dev/sda
$ sudo grub-install /dev/sdb

Additional Resources:

Honda CR-V 1999-2001 Clock Fix

Saturday, September 11th, 2010 @ 11:25am

After months of driving around with a broken clock on my 2001 CR-V, I decided enough is enough. Time to fix that stupid clock. If someone else is having a similar issue, hopefully this will help.

Tools Needed

  • Steady hand
  • Flathead screwdriver
  • Phillips-head screwdriver
  • Soldering iron
  • Solder

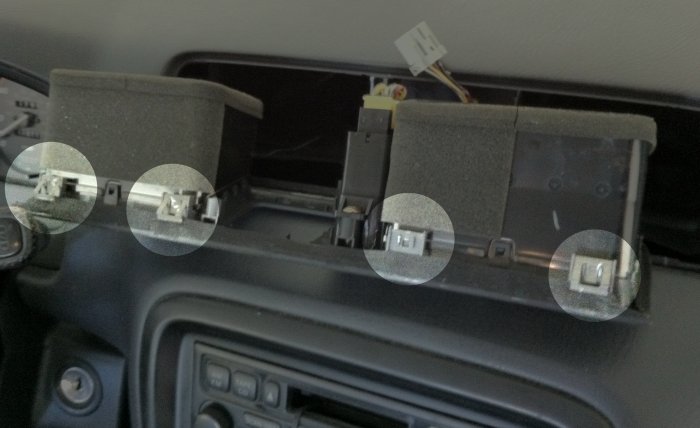
To access the clock, you’ll first need to remove the center air vent. Under the air vent there are four clips that go into the dashboard. Pry your flathead screwdriver under the center air vent to remove the clips and pull the unit out. The clip locations are shown below (I’m showing the underside of the vents):

center air vent

You’ll want to be careful when you’re pulling the vent out and be sure that all the clips are loosened. I accidentally broke a clip that wasn’t loose when pulling mine out.

Once the center vent is pulled out, you should see two connectors. One goes to the hazard lights, the other to the clock. You can unplug the clock and remove the two screws holding the clock in with your phillips-head screwdriver.

Be careful when unclipping the front cover to the clock, as the buttons may fall out. Once the front cover is off you should see the clock LCD and the PCB.

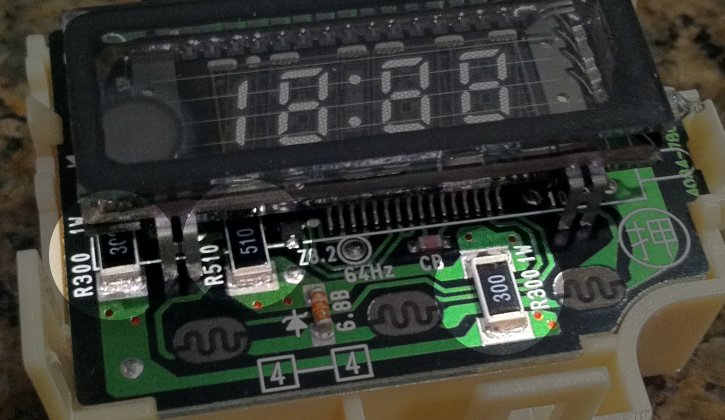
When looking at my clock only the far left connection was cracked, but the soldering was pretty thin as well on the others shown. I went ahead and soldered all the connections below for good measure, as I didn’t want to remove the air vents again just to re-solder.

clock

Once all your soldering is done, you can test the clock by just plugging it in and turning the ignition on. If it doesn’t work, be sure to check your soldering connections. Otherwise you can connect everything back up, and screw it all together.

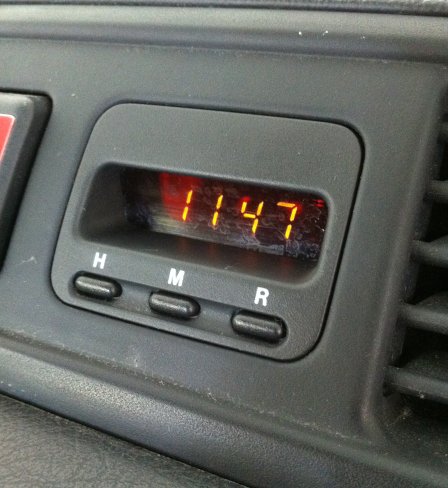
Yay!

Woohoo! I now have a working clock again!

Some of you have mentioned monetary compensation. I’m not in this for the money, and not really interested in any direct donations. However if you’re still interested in giving back, you can use my Amazon associates link to buy something off Amazon, of which I’ll get a small percentage.

iPhone 4.1 and HDR

Wednesday, September 8th, 2010 @ 6:50pm

iOS 4.1 was released today, and one of the newest features is the added capability to take HDR photos. For those of you who aren’t familar with HDR, it stands for “High Dynamic Range.” What this means is the camera takes several photos in succession at different exposures and merges them together to bring out more details from photographs.

With HDR being added as a part of 4.1, I wanted to take a few test photos to see how well they turn out. Hover over the images (or click on them) to see the HDR photo:

There’s not a large difference in the above photo, but you can see a little more of the trees and the grass comes out to be closer to its natural color.

This photo is by far the most impressive result. In the original exposure the sky is a complete white out, while the HDR photo brings out the color of the sky.

…yet not every photo is as impressive. I actually find the original exposure here to be the better photo. Thankfully, iOS 4.1 allows you to save both photos – just in case!

You can see how the light washes out some of the cabinets, with HDR restoring to a more natural view.

While I wouldn’t consider my iPhone as a permanent placement for a full featured camera, it’s great to have around since it takes pretty decent photos and I’m likely to always have it on me.